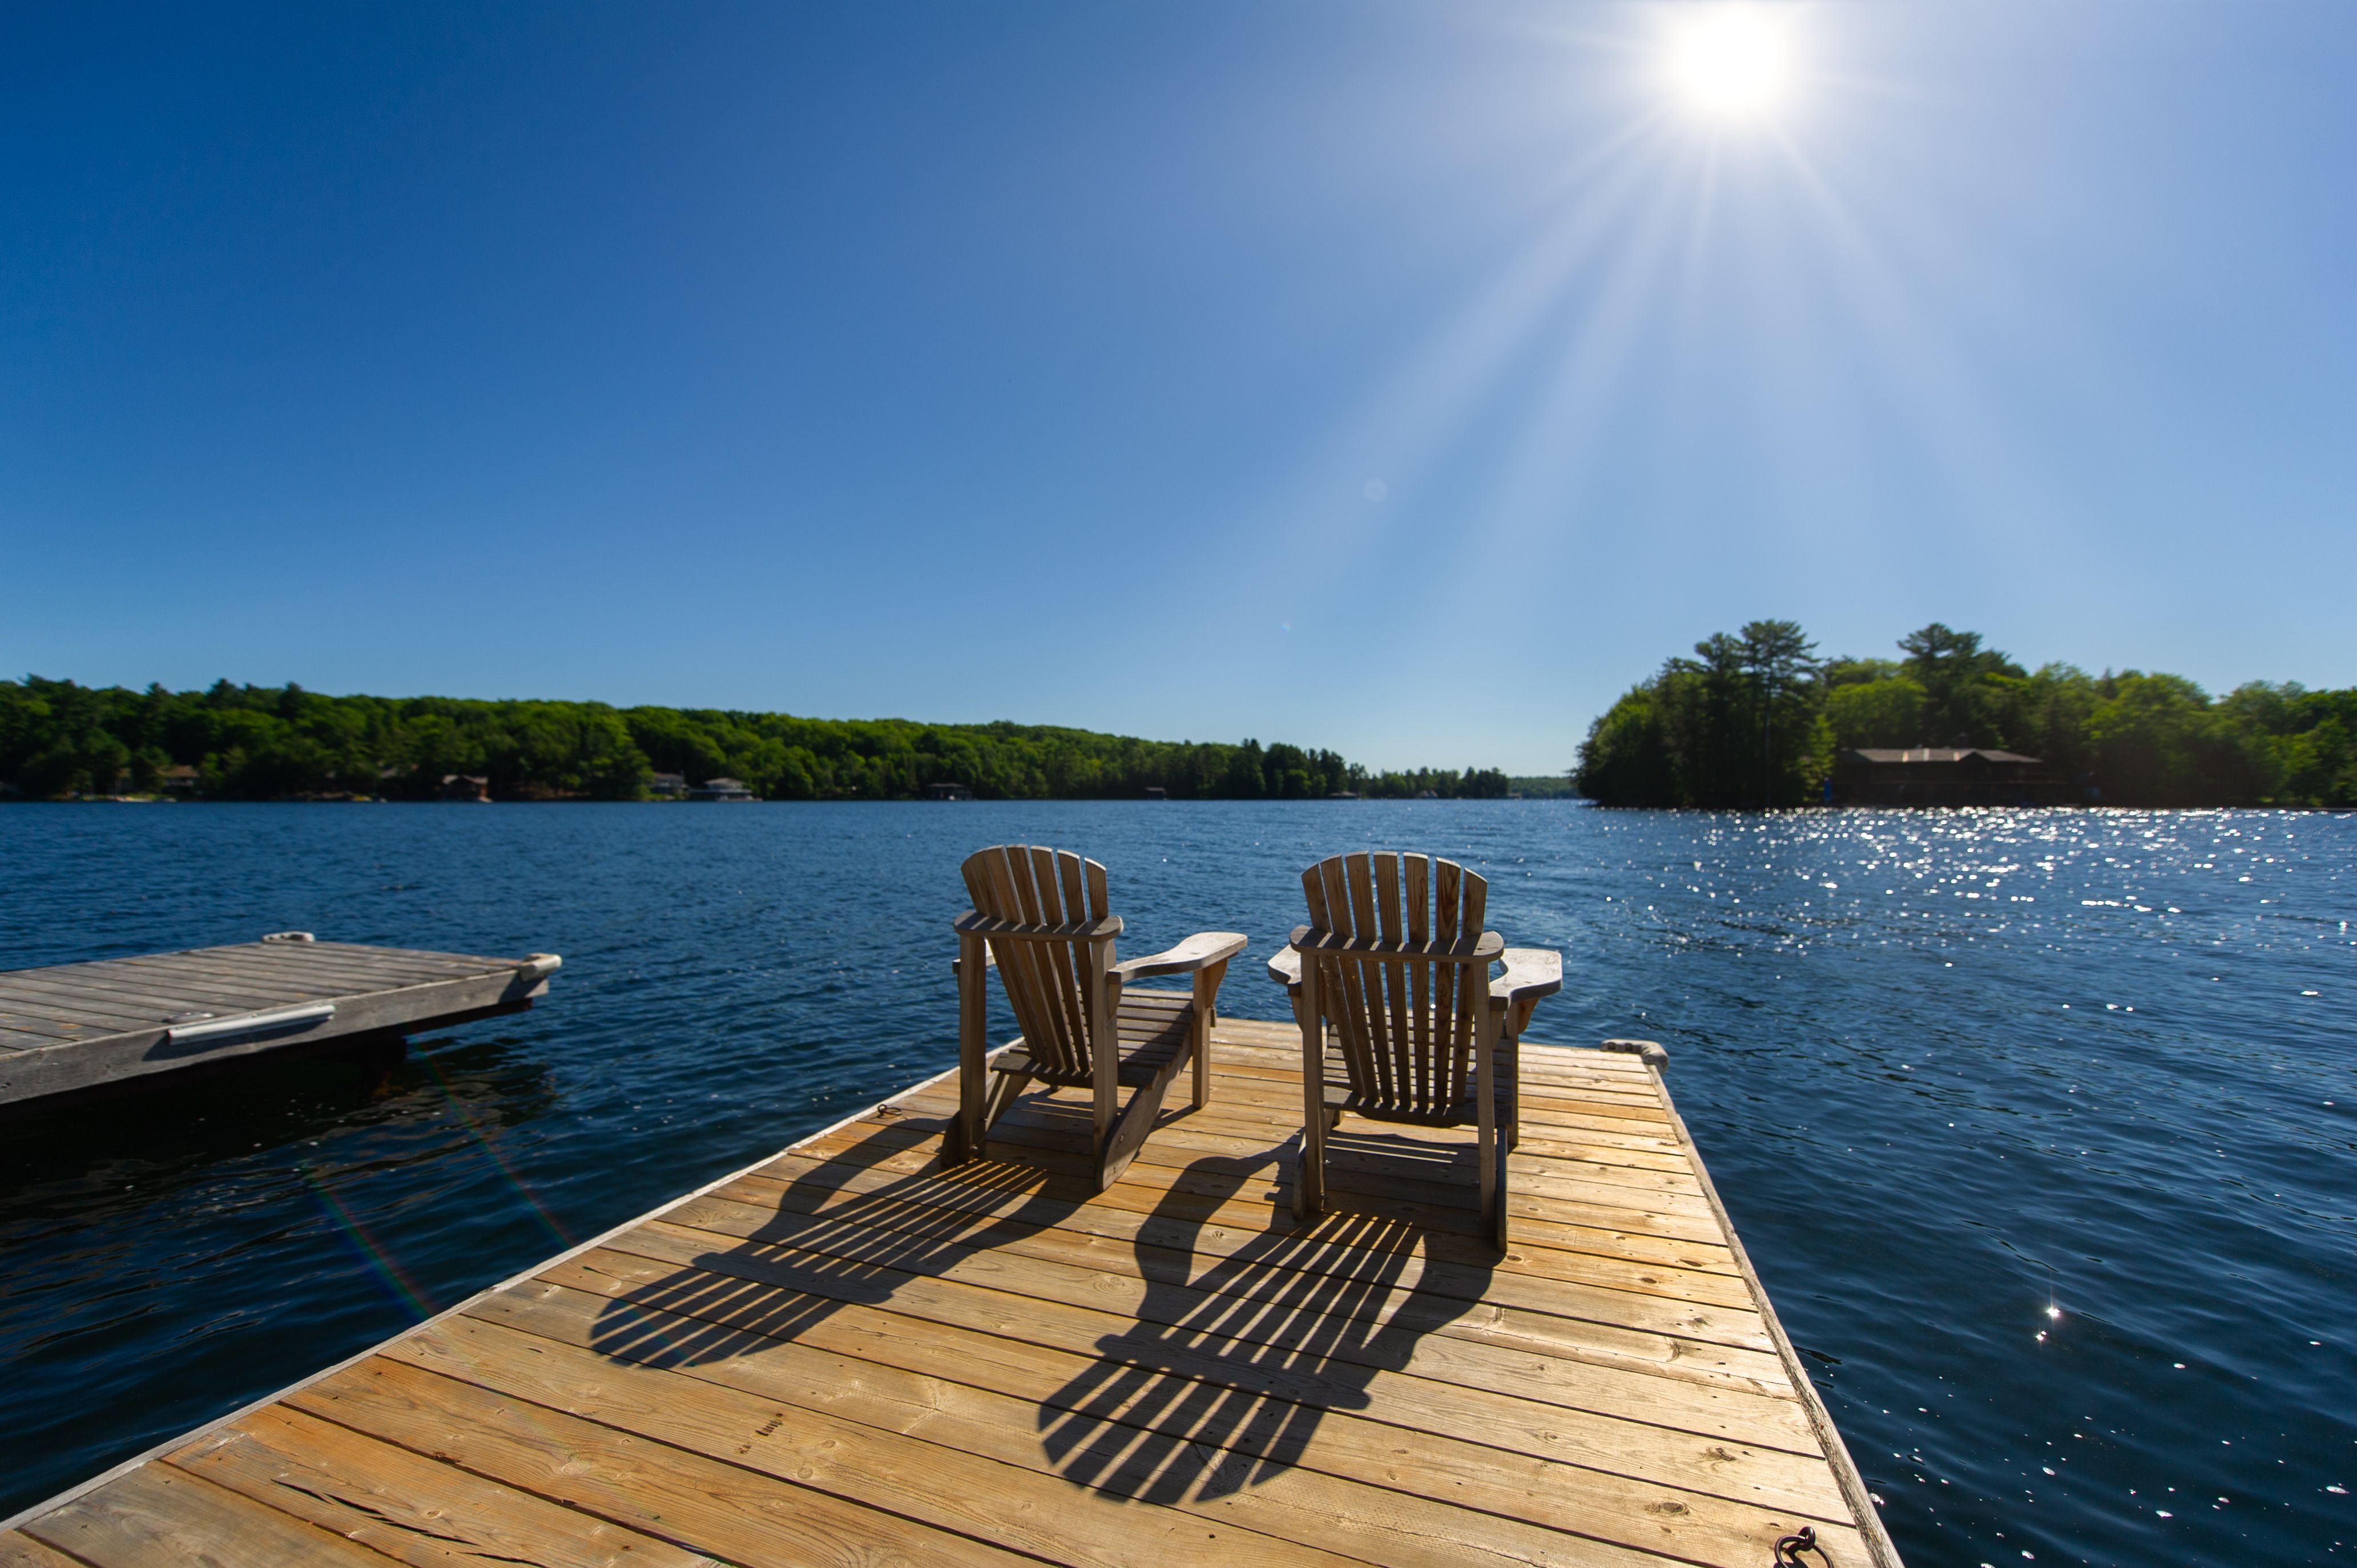
DIY Dock Installation: Step-by-Step Guide for Port Severn Homeowners


Port Severn homeowners, are you considering a DIY dock installation for your waterfront property? Building your own dock can be a rewarding project, providing you with a custom space to enjoy the stunning views and activities the area has to offer. Follow this step-by-step guide to ensure a successful installation.
Planning Your Dock
Before diving into construction, it's crucial to plan your dock carefully. Start by determining the type of dock that suits your needs. Consider factors such as water depth, shoreline conditions, and intended use. Popular options include floating docks, stationary docks, and wheeled docks.
Next, check with local authorities regarding permits and regulations. It's essential to ensure your dock complies with environmental and zoning laws specific to Port Severn.
Gathering Materials and Tools
Once you have a plan in place, gather the necessary materials and tools. Common materials include treated lumber, floats, and fasteners. You will also need tools such as a saw, drill, level, and measuring tape.
Consider purchasing a dock kit, which can simplify the process by providing pre-cut materials and detailed instructions. This can be especially helpful for first-time builders.
Building the Dock Frame
Begin your construction by building the frame. Cut the lumber to the desired dimensions and assemble it on a flat surface. Ensure the frame is square and level, as this will form the foundation of your dock.
For added stability, use galvanized screws or bolts to fasten the corners. Reinforce the frame with cross supports if necessary, based on the size and weight capacity of your dock.

Installing the Floats
With the frame ready, it's time to attach the floats. Position them evenly beneath the frame and secure them with brackets or straps. Floats provide buoyancy and stability, so their placement is crucial.
Ensure that the floats are evenly distributed to maintain balance. Test the buoyancy by placing the frame in the water before proceeding further.
Securing the Decking
Once the frame and floats are in place, you can install the decking. Use weather-resistant materials such as composite or pressure-treated wood. Secure the decking boards perpendicular to the frame with screws, leaving a small gap between each board for drainage.

Anchoring the Dock
Proper anchoring is essential to prevent your dock from shifting due to wind or water currents. Use anchors or pilings driven into the lakebed to secure the dock firmly. The type of anchoring system will depend on the water depth and soil conditions.
Consult with local experts or suppliers to choose the best anchoring solution for your specific location.
Final Touches and Maintenance
With your dock installed, add any desired features such as railings, ladders, or cleats for tying up boats. Regular maintenance is key to prolonging the life of your dock. Inspect for any signs of wear or damage, and make necessary repairs promptly.
Applying a sealant to wooden surfaces can help protect against moisture and UV damage, keeping your dock looking great for years to come.
By following these steps, Port Severn homeowners can build a functional and attractive dock, enhancing their waterfront experience. Enjoy the satisfaction of completing a DIY project and the countless hours of relaxation and fun your new dock will provide.